As we are living in such uncertainty at the moment it is important to keep on top of your mental health. Now that many of us are staying indoors to keep healthy and protect relatives, having little to do can take its toll on your mental health and at STYLEetc we’re doing all we can to give you ideas to stay busy and keep focused in trialling times.
Many Brits are taking to home renovation to pass time and have projects to do. It makes sense as we are set to be spending much more time at home to make it as aesthetically pleasing as we can.
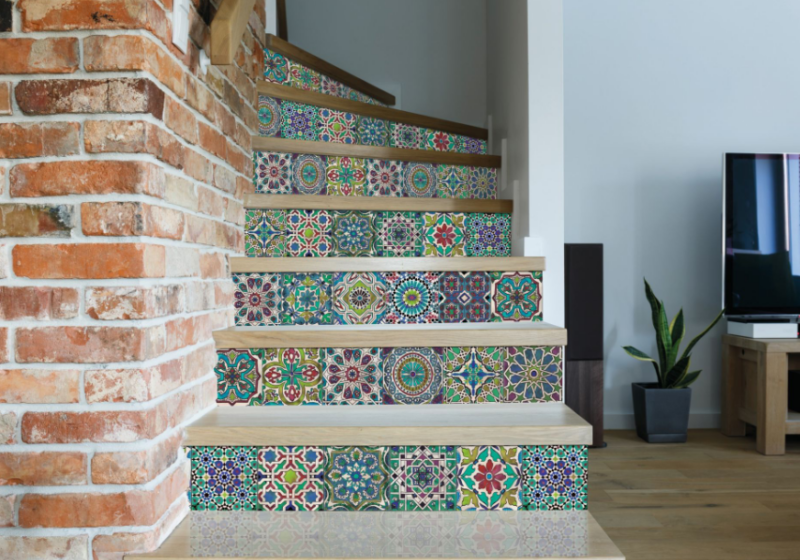
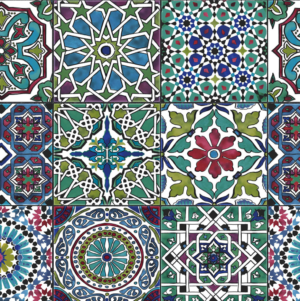
Revamping old furniture is a common project many Brits are undertaking and, contrary to popular belief, it isn’t something that has to cost a fortune. Knowing some simple tweaks and hacks can save major amounts but still achieve your end aesthetic goals. Vinyl has seen something of a resurgence recently, with colourful and affordable prints available to quickly change the vibe of an old piece of homeware. Read on to see how you can get in on the trend and use vinyl to make your home look and feel new for little spend.
Some of our Favourite Prints


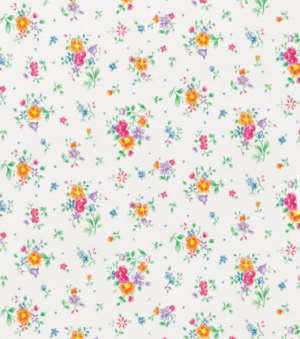
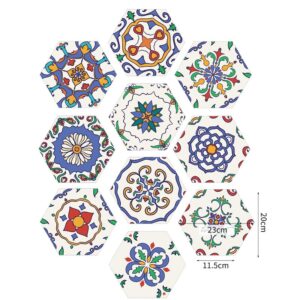


The Perks of Vinyl
Whilst vinyl is plastic, not the most eco-friendly material to buy, it is fulfilling the agenda of allowing you to upcycle your home. If you can update your old furniture it can help you get a few more years than originally intended.
Most vinyls on the market are also extremely affordable. Big operations like Wilko and B&Q have the supply chain to offer mass amounts of product for low cost, but independent stores like Jes Rose are still competitively priced, and also offer designs that cannot be found anywhere else on the market.
Vinyl is also super quick to apply, it takes little skill and lasts a good few years (give or take) before you would need to think about redoing. For renters, this is particularly appealing and allows tenants to update their homes when landlords may not allow permanent renovations. Vinyl can be used on all kinds of surfaces; from kitchen cupboards to walls and floors. Undertaking these kinds of projects can also be pretty fun and therapeutic, for creative types.
Before & After Vinyl
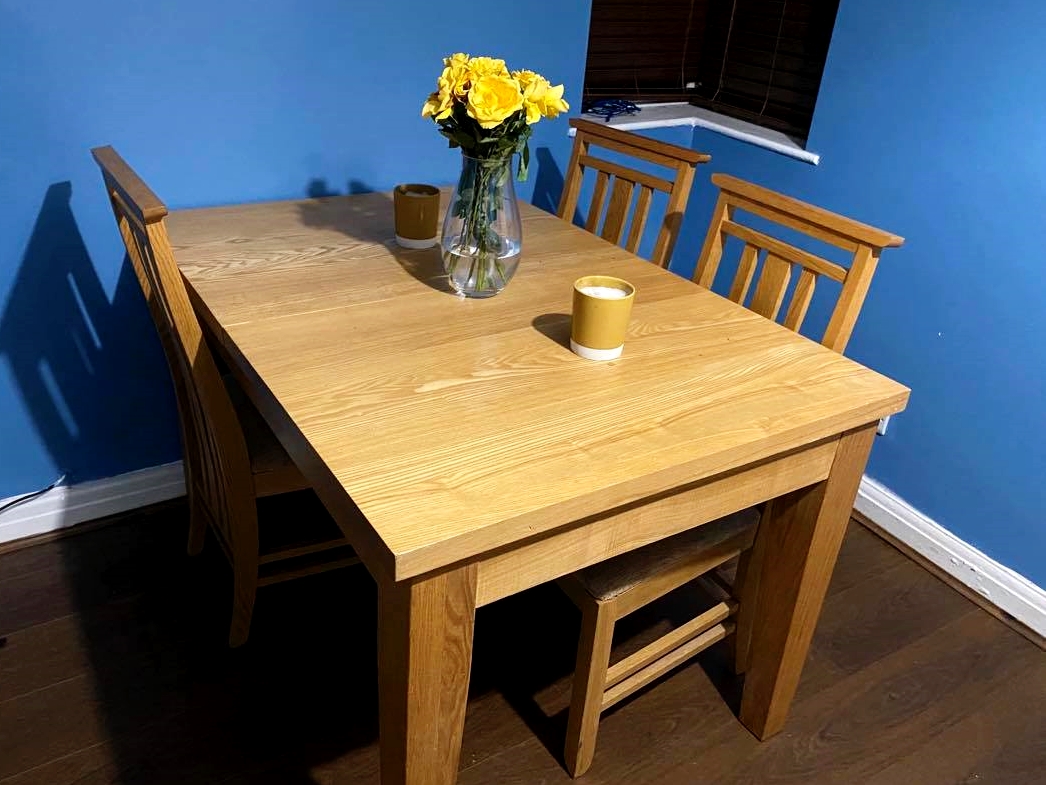
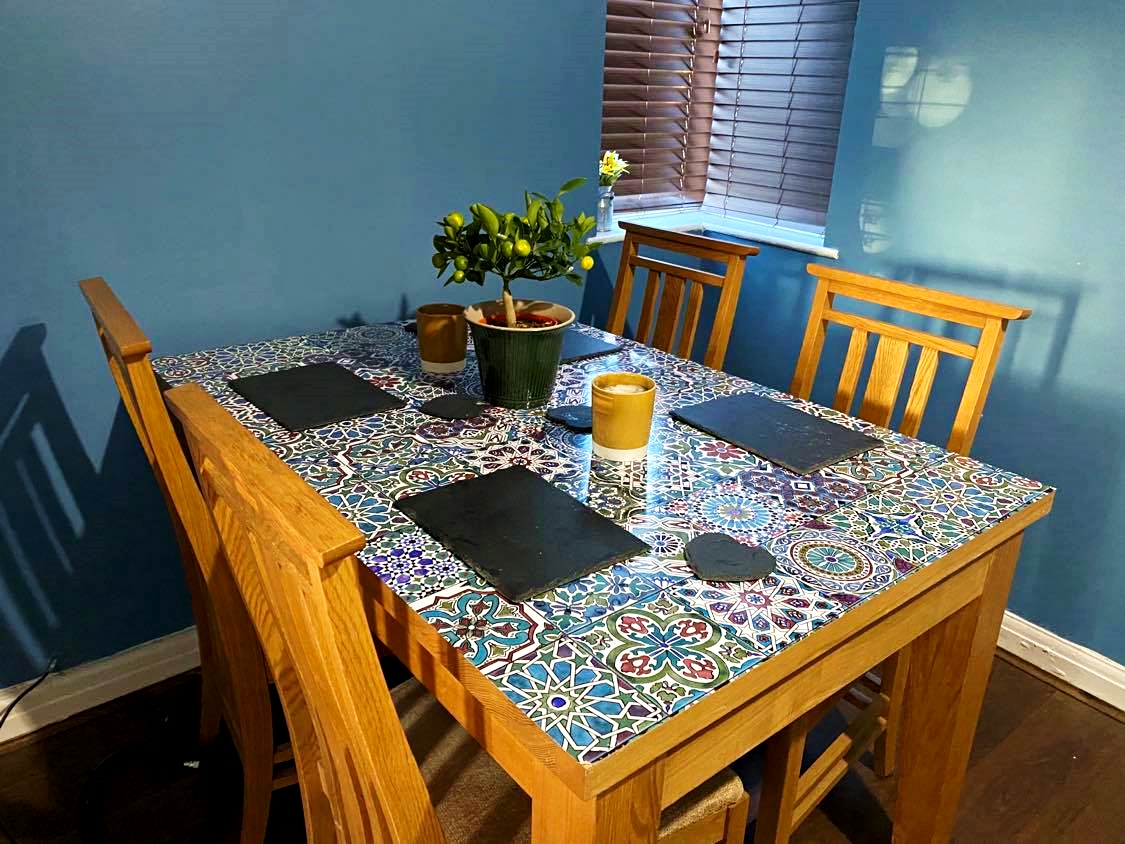
*slight light differences due to images taken on different days
How to Apply
Before beginning your vinyl transformation you’ll need to have a few things handy; scissors, a snap-off knife, a pencil, measuring tape and a plastic squeegee. For bigger projects, it may be easier to have another person to help you hold the vinyl in place to ensure things are perfectly aligned.
First you will need to assess the are you need to cover, use the tape measure to calculate whether or not the roll has the right width, if not you can stitch two rolls together. When buying patterned vinyl it’s worth enquiring to make sure the patterns will align when placed alongside each other.
Stretch the roll along the width of your cover surface and make a rough pencil mark where you would need to cut your vinyl. Repeat this as much as needed to outline the shape of the strip of paper that you’ll need. Next, take the scissors and cut out a piece of the vinyl, try your best to keep the lines straight and glide the scissors along. Once you have your vinyl piece, very carefully position the corner piece and remove the non-sticky backing paper little-by-little. Use the squeegee to smooth the vinyl as you slowly fix it to the surface. You will be left with some parts overhanging, so just use the snap-off knife to carefully trim the edges. The objective is to leave the edges seamless and make the surface look like the pattern is a part of it. Take extra time when layering prints next to one another, don’t be afraid to peel it off and try again if you make a mistake. Most vinyls are able to be re-stuck a couple of times before losing any stickiness.

